Seduce® Xtreme Power Acrylgel | Pink
By
Seductionail
SKU: 8721001843725

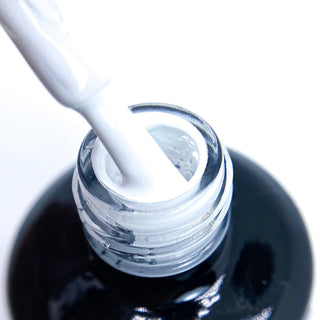
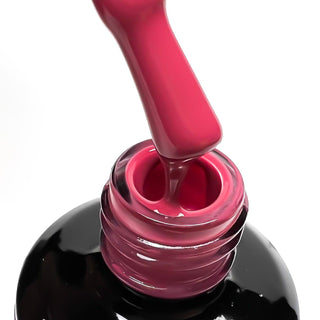
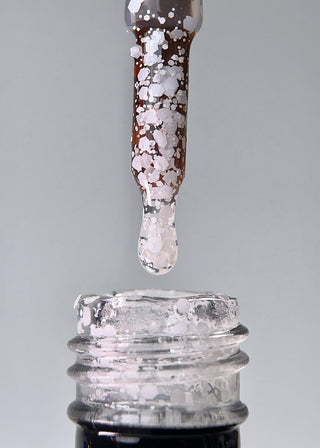
Seduce® Xtreme Power Acrylgel is the perfect choice for strong, flexible, and long-lasting nail extensions. This innovative blend of acrylic and gel offers the strength of acrylic with the flexibility and ease of use of gel. Our acrylgel is odorless, easy to shape with 70% alcohol, and provides lasting results without chipping or shrinking. Thanks to its perfect firmness, the product does not run, allowing you to work with precision. It is suitable for both natural nails and nail extensions and is also fantastic to use with dual forms. Moreover, the unlimited working time ensures that every nail technician can work at their own pace.
Why choose Seduce® Xtreme Power Acrylgel?
- Strong, flexible, and durable nail extensions
- Easy to shape with 70% alcohol
- Does not shrink and provides long-lasting, chip-resistant results
- Does not run thanks to perfect firmness
- Fantastic to use with dual forms, tips, or stencils
- Odorless for comfortable use
- Suitable for natural nails and extensions
- Vegan, HEMA-free, and cruelty-free
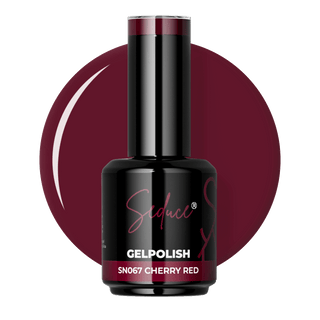
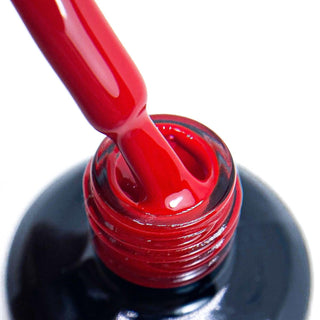
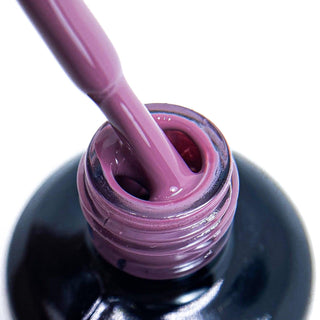
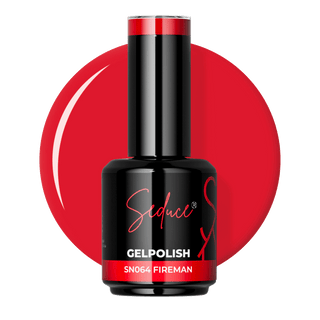
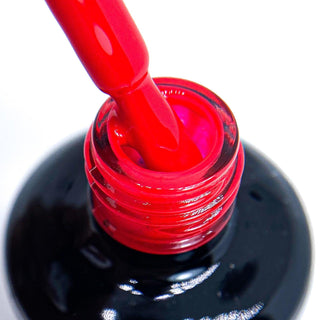
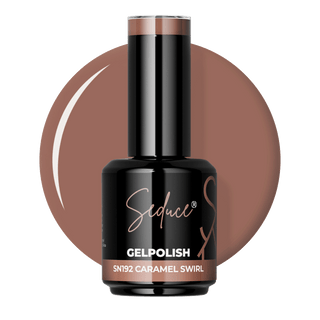
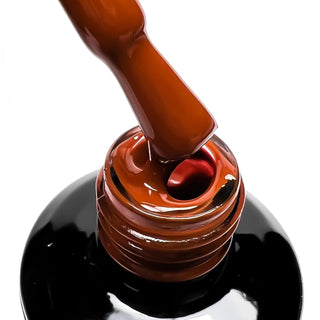
Color description: pink
Hardening time: 90 seconds under a 45-watt lamp
Contents: 30 g / 60 g
100% secure payments: Your information is protected and safe with us.
Seduce® Xtreme Power Acrylgel is the perfect choice for strong, flexible, and long-lasting nail extensions. This innovative blend of acrylic and gel offers the strength of acrylic with the flexibility and ease of use of gel. Our acrylgel is odorless, easy to shape with 70% alcohol, and provides lasting results without chipping or shrinking. Thanks to its perfect firmness, the product does not run, allowing you to work with precision. It is suitable for both natural nails and nail extensions and is also fantastic to use with dual forms. Moreover, the unlimited working time ensures that every nail technician can work at their own pace.
Why choose Seduce® Xtreme Power Acrylgel?
- Strong, flexible, and durable nail extensions
- Easy to shape with 70% alcohol
- Does not shrink and provides long-lasting, chip-resistant results
- Does not run thanks to perfect firmness
- Fantastic to use with dual forms, tips, or stencils
- Odorless for comfortable use
- Suitable for natural nails and extensions
- Vegan, HEMA-free, and cruelty-free
Color description: pink
Hardening time: 90 seconds under a 45-watt lamp
Contents: 30 g / 60 g
100% secure payments: Your information is protected and safe with us.
Obsessed with Colors Seduce with style, —Always the best.
Frequently Asked Questions
Most frequently asked questions
Become the nail stylist you have always wanted to be..
Join The Ultimate Nail Community
The place where you learn new techniques every month, your confidence grows, and your clients are amazed by your skills.
Our community is the place for nail stylists who want to improve their skills and keep challenging themselves. Whether you are just starting or have years of experience, here you meet fellow stylists who share your passion for nail styling. Every month we offer exclusive videos, ranging from in-depth theory to inspiring nail art and practical lessons. This way, you always stay up to date with the latest techniques and trends in the nail world.
But our community is not just about learning. It is also a place to share experiences and tips with others. Do you have a question or want feedback on your work? You can always turn to us. Together we build each other’s success and grow not only as professionals but also as creative artists.