Seduce® Build and Beyond | Hardgel | Champagne Toast
By
Seductionail
SKU: 8721001845583


Seduce® Build and Beyond Hardgel is a firm building gel ideal for extending nails with tips or forms, and for strengthening the natural nail. This strong yet flexible gel offers many advantages over acrylic. No liquid needed, so no unpleasant odors, and it is much easier to file. Moreover, this hard gel is just as strong and durable as acrylic or acrylic gel, ensuring long-lasting and beautiful results. For the best results, we recommend applying this gel with a Build and Beyond Brush.
Why choose Seduce® Build and Beyond Hardgel?
- No liquid or unpleasant odors
- Easier to file than acrylic
- Just as strong and durable as acrylic or acrylic gel
- Suitable for extending with tips or forms, and for strengthening the natural nail
- Vegan, HEMA-free and cruelty-free
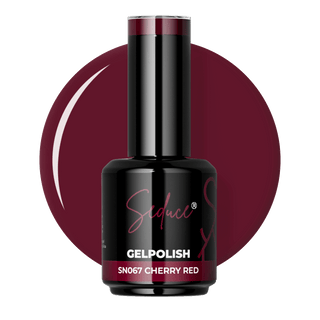
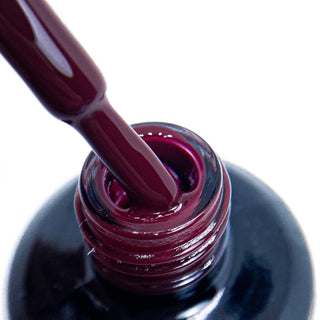
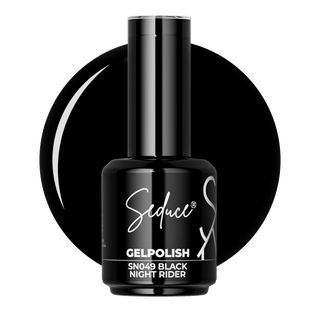
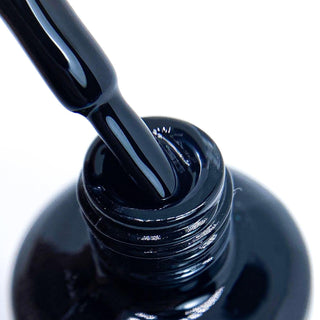
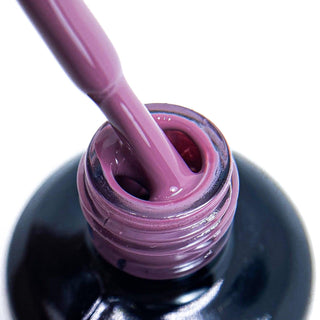
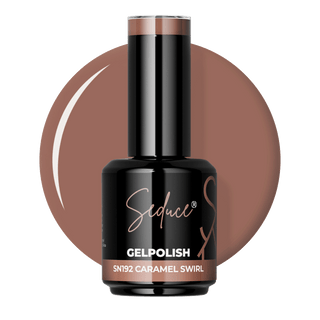
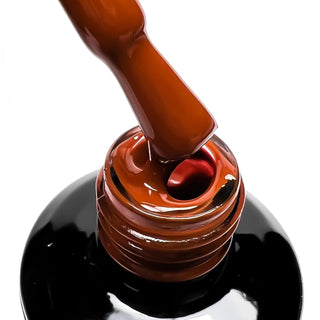
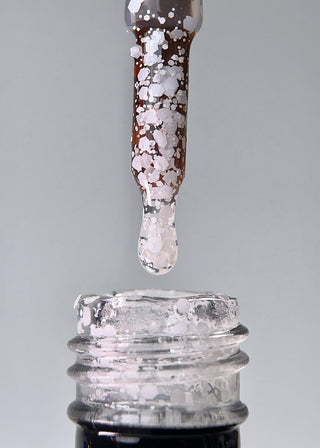
Color description: warm nude shade with glitter
Contents: 30 g
Note: Colors may differ from reality.
100% secure payments: Your information is protected and safe with us.
Seduce® Build and Beyond Hardgel is a firm building gel ideal for extending nails with tips or forms, and for strengthening the natural nail. This strong yet flexible gel offers many advantages over acrylic. No liquid needed, so no unpleasant odors, and it is much easier to file. Moreover, this hard gel is just as strong and durable as acrylic or acrylic gel, ensuring long-lasting and beautiful results. For the best results, we recommend applying this gel with a Build and Beyond Brush.
Why choose Seduce® Build and Beyond Hardgel?
- No liquid or unpleasant odors
- Easier to file than acrylic
- Just as strong and durable as acrylic or acrylic gel
- Suitable for extending with tips or forms, and for strengthening the natural nail
- Vegan, HEMA-free and cruelty-free
Color description: warm nude shade with glitter
Contents: 30 g
Note: Colors may differ from reality.
100% secure payments: Your information is protected and safe with us.
Obsessed with Colors Seduce with style, —Always the best.
Frequently Asked Questions
Most frequently asked questions
Become the nail stylist you have always wanted to be..
Join The Ultimate Nail Community
The place where you learn new techniques every month, your confidence grows, and your clients are amazed by your skills.
Our community is the place for nail stylists who want to improve their skills and keep challenging themselves. Whether you are just starting or have years of experience, here you meet fellow stylists who share your passion for nail styling. Every month we offer exclusive videos, ranging from in-depth theory to inspiring nail art and practical lessons. This way, you always stay up to date with the latest techniques and trends in the nail world.
But our community is not just about learning. It is also a place to share experiences and tips with others. Do you have a question or want feedback on your work? You can always turn to us. Together we build each other’s success and grow not only as professionals but also as creative artists.